STEM subjects (Science, Technology, Engineering, Math) help build important skills children need for school and in their future careers. STEM classes have the added benefit of improving problem solving, creativity, and adaptability that come with these subjects. Here at Spark Math by Spark Education, we not only excel in putting the “M” in STEM, we know the importance of making STEM part of everyday life. In this new series, we are going to explore some of the most fun, interactive, and educational STEM activities by grade level, that you can try at home. Check out these fun STEM activities for primary 3 kids!

1) Build a Mechanical Paper Hand
Human hands are some of the most complex tools in the world. Hands are able to hold the most delicate flowers without damaging them but can be strong enough to hold people up with only their fingertips. When thinking about engineering new machines and technology, it’s important to understand how biology has given us the ability and try and make it better. This activity shows how the human hand uses muscles and tendons to move, but also how we can design and build a moving object using the most simple supplies. Let’s learn about biology, design, and robotics, by making a mechanical hand!
What you need:
- Construction paper, cardboard, or card stock
- Pen or pencil
- Scissors* (safety scissors or ask an adult for help)
- Drinking straws (paper or plastic)
- String or yarn
- Tape
Instructions:
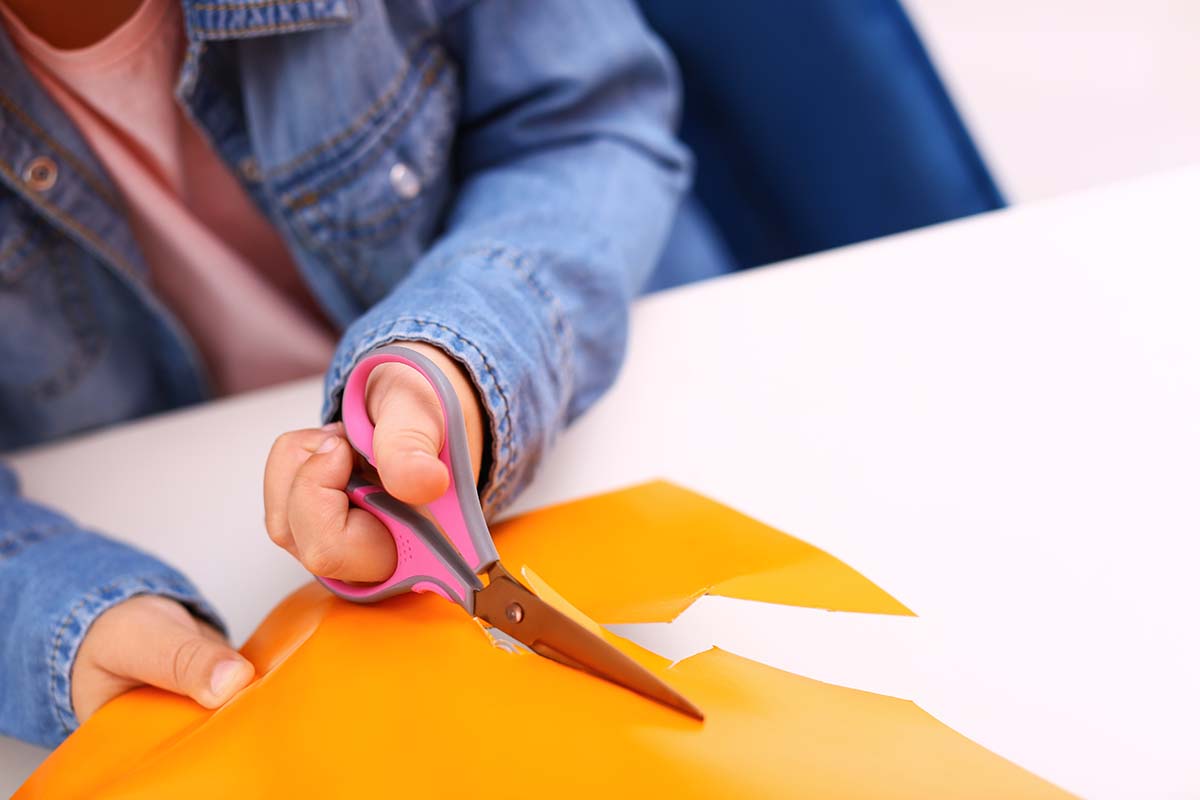
- Place your hand on the construction paper (cardboard/card stock) with your fingers spread out. Trace your hand onto your construction paper (cardboard/card stock) with a pen or pencil* (While kids can trace their own hands, consider using a bigger adult hand for an easier and better moving mechanical hand)
- Cut out the outline of your hand and use your pen or pencil to draw a line everywhere your real hand has a joint.
- Make a slight fold, facing toward yourself, at each of the different joints.
- Now we are adding string to our paper hand. Tape a piece of string to the tip of every paper finger. Measure each string out so that it goes down the finger, passes the hand, and has 3 or 4 inches passed the paper wrist.
- Cut a straw into shorter pieces that fit in between the joints on the paper hand. Use 2 pieces of straw for the thumb and 3 pieces for the four fingers. Put the string through each piece of straw and tape the cut straw pieces in between our paper joints.
- Put the string from each finger into larger pieces of straw and tape them to the palm of your paper hand These pieces of straw are the bones of your paper hand.
- Slowly and gently pull the ends of the strings past the wrist. You can move the fingers of your paper hand!
What Happened?
Using some arts and crafts around the house, you have built a DIY robot hand that movable and bendable, just like your own! The strings you pull on are like the tendons of your hands pulling and relaxing to make your hand move. The straws are the bones making a strong structure for the hand. Compare how your new paper hand moves to your own hand. What are the similarities and differences? What can you do to make it stronger? This is the perfect way to show kids how to create and problem solve using everyday items, and some knowledge of STEM!

2) Multiplication and Division using Dots and Dice
Multiplication and division are some of the major math concepts children learn in primary 3. Creating visual and interactive ways to show how these concepts work helps students build new skills. This is where gamified learning, or making games that include new skills and knowledge, comes in to support learning. In a study done by Gazi University and Düzce University, children who gamified their learning experience performed better on tests and were more engaged with math learning. Here’s a way to use dice to create and visualise multiplication and division problems.
What you need:
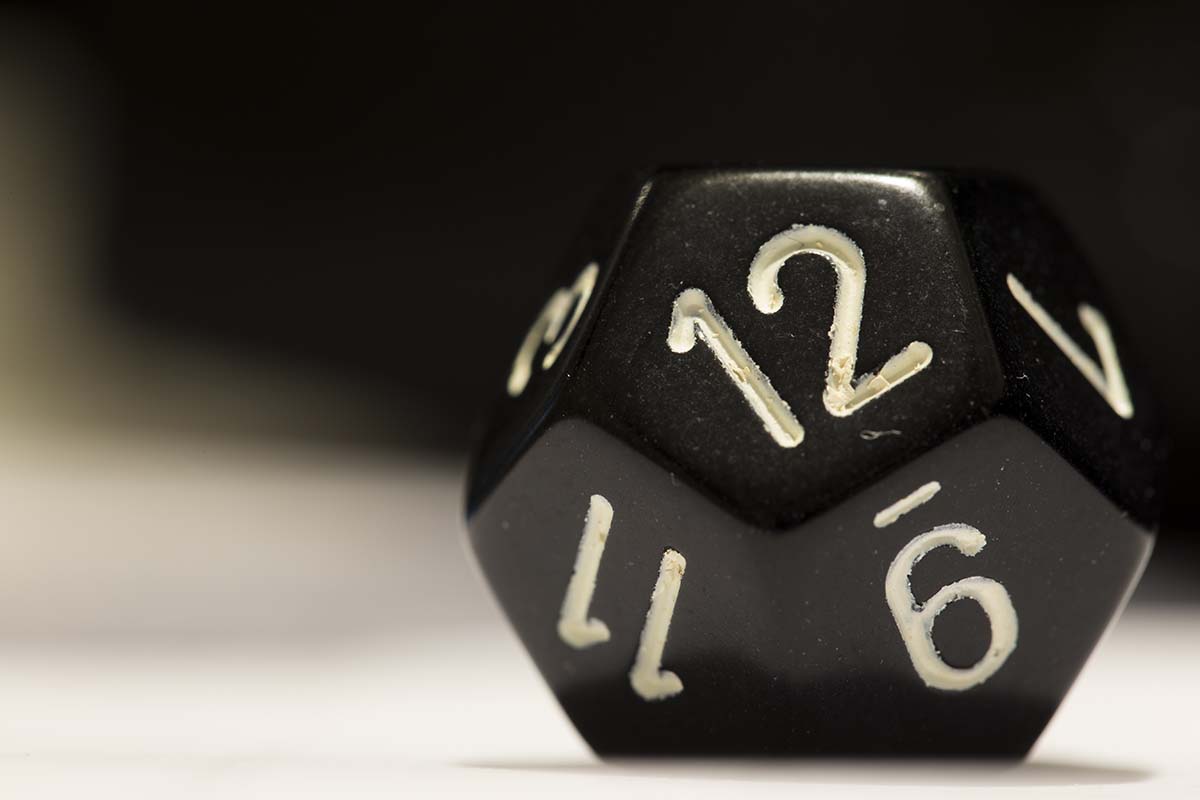
- A pair of dice (Standard dice are good, but two 12-sided dice are great for working on the 1-12 times tables)
- Construction paper or index cards
- Markers or stamps
Ways to Play and Learn:
This is a fun way to create a visual representation of multiplication that children can connect with. To start, roll 2 dice. One die will be for the rows of dots to draw and the other will be for the number of dots to draw. If your dice rolls a 5 and a 4, you draw out 5 rows of 4 dots each. Now, count how many dots you have in total. You get 20, that’s the answer to 5 x 4. This makes understanding the multiplication tables more concrete, and not just focused on memorisation. Turn this into a game by adding up all the points after each roll and seeing who has the most at the end.
Having a visual representation of multiplication can also help explain and visualise division. Primary 3 is when students really start learning how the two concepts are connected. After creating the cards for each multiplication dice problem, roll another die and break down the groups by that number. Does it divide evenly or is there a remainder? This is a great way to show how different equations can give you the same answer.
By using concrete items, like markers and dice, to create a pictorial representation of math skills, children get a real understanding of what math problems represent. This is a great example of the CPA approach, a teaching method that encourages hands-on learning and helps children gain a deeper understanding of concepts.
3) Plastic Eggs and Matching Fractions
In primary 3, fractions become a major aspect of the math curriculum. Fractions go hand and hand with the introduction of division. Both math concepts are about understanding the parts that make up a larger whole. Here’s an effective way to learn simple fractions or like and unlike fractions, using only plastic breakable eggs.
These plastic eggs are for more than just hiding chocolate, they work great at showing a visual representation of a whole being broken up into parts. For this activity, get 10 plastic eggs that can be opened. Use a marker to write equal fractions on the eggs, like 1/2 or 2/4, while making sure that one fraction is written on each egg half. To let your child practise matching fractions, mix up all the pieces and spread them out! Let your child look at the pieces and tap into their math skills to figure out which fractions are matching.
You can start off easy for your child first. Start with having the matching fractions on the same coloured eggs, then make it tougher by using different colours. This is an introduction to fractions, and can be altered the more students learn. This is a fun, interactive, and colourful way to show how fractions work.
Spark Math, a STEM.org Accredited Programme
On 28 March 2023, Spark Math was awarded the STEM.org Accredited trustmark. This accreditation from STEM.org is a recognition of the excellence and effectiveness of the Spark Math programmes. We are proud to receive this award from STEM.org even as we strive to continue providing high-quality, important lessons to our students. When your child studies at Spark Math, they will be experiencing engaging lessons that develops their knowledge of STEM.
Build STEM and Math Skills With Spark!
Looking for more fun and interactive STEM activities for every grade? Check out our Spark Education blog for great news and activities the whole family can enjoy. Looking for a weekly online class filled with learning activities, gamified learning, and all led by real experienced math teachers? Sign up to try a free demo class today!
For more in our STEM Activities series:
Pre- K / Kindergarten – Primary 1 – Primary 2 – Primary 3 – Primary 4 – Primary 5


